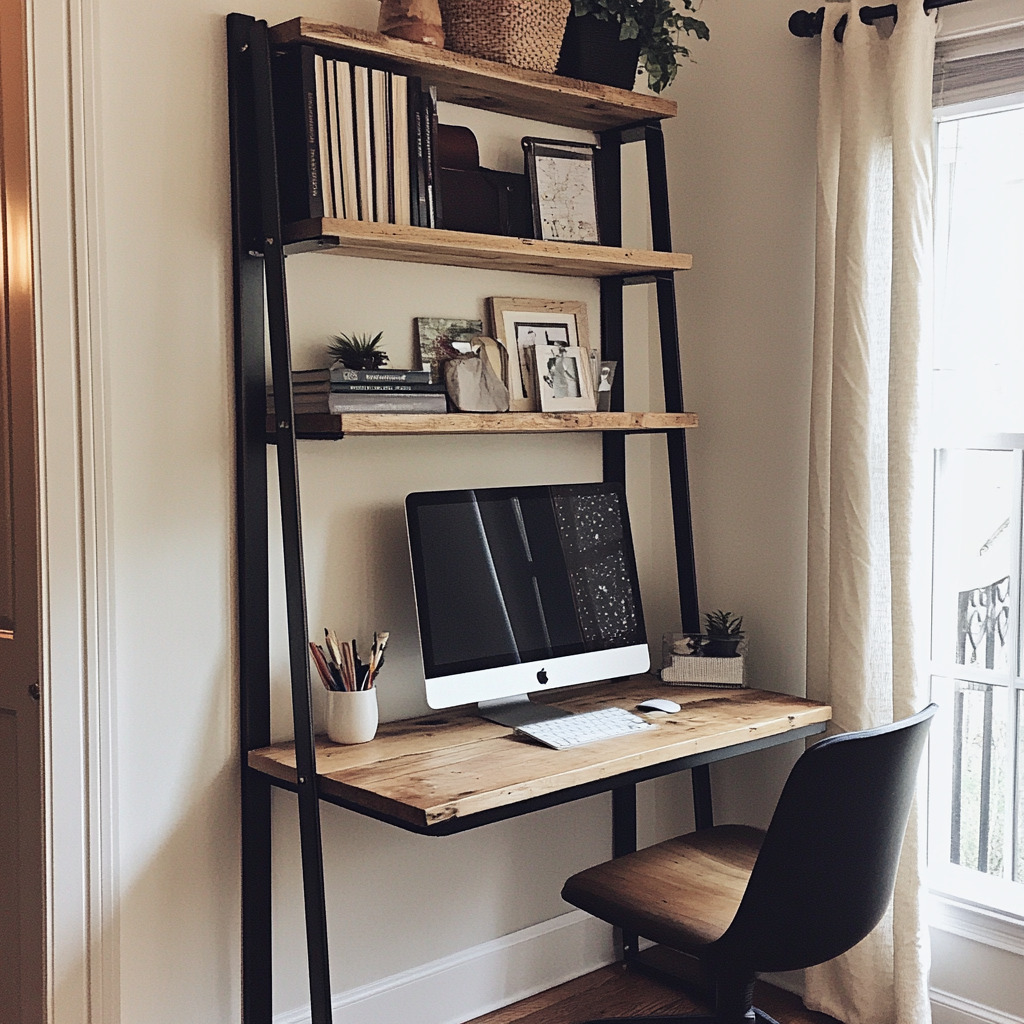
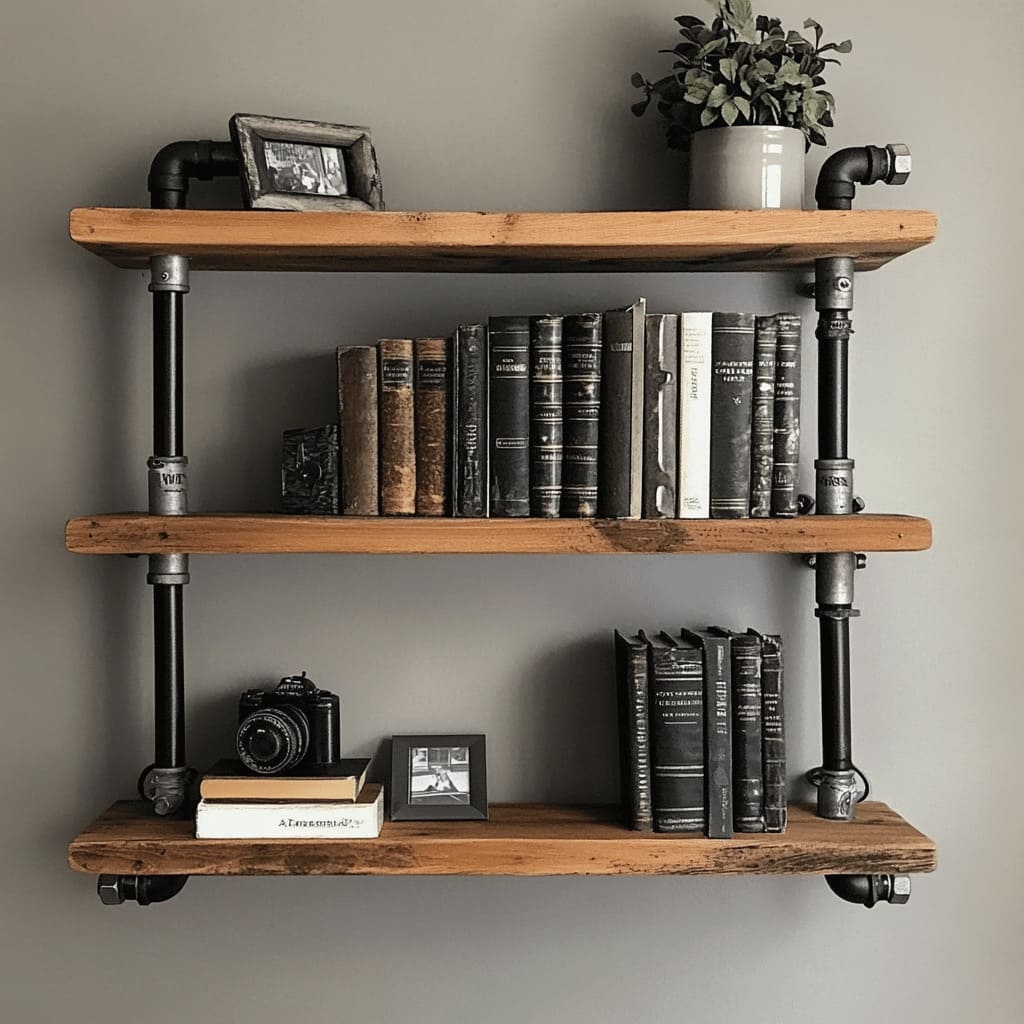
In the quest for a personalized and unique workspace, DIY office furniture projects offer a creative and cost-effective solution. These projects not only allow you to tailor your office furniture to your specific needs and tastes but also bring a sense of accomplishment and ownership to your workspace.
This article explores a variety of DIY office furniture ideas that combine functionality, style, and personalization
The Benefits of DIY Office Furniture
Creating your own office furniture offers several benefits:
1. Customization
DIY projects allow you to design furniture that fits perfectly in your space and matches your style preferences.
You can choose materials, colors, and dimensions that align with your aesthetic and functional needs.
2. Cost-Effectiveness
Building your own furniture can be more affordable than purchasing high-end, custom-made pieces. By sourcing materials yourself and investing time rather than money, you can achieve a personalized look without breaking the bank
3. Sustainability
DIY furniture projects often involve repurposing and upcycling materials, which can reduce waste and promote sustainability.
Using reclaimed wood, old pallets, or repurposed items helps minimize your environmental footprint.
4. Sense of Achievement
Completing a DIY project provides a sense of accomplishment and pride. Every time you use your handmade furniture, you’ll be reminded of your creativity and effort
Creative DIY Office Furniture Projects
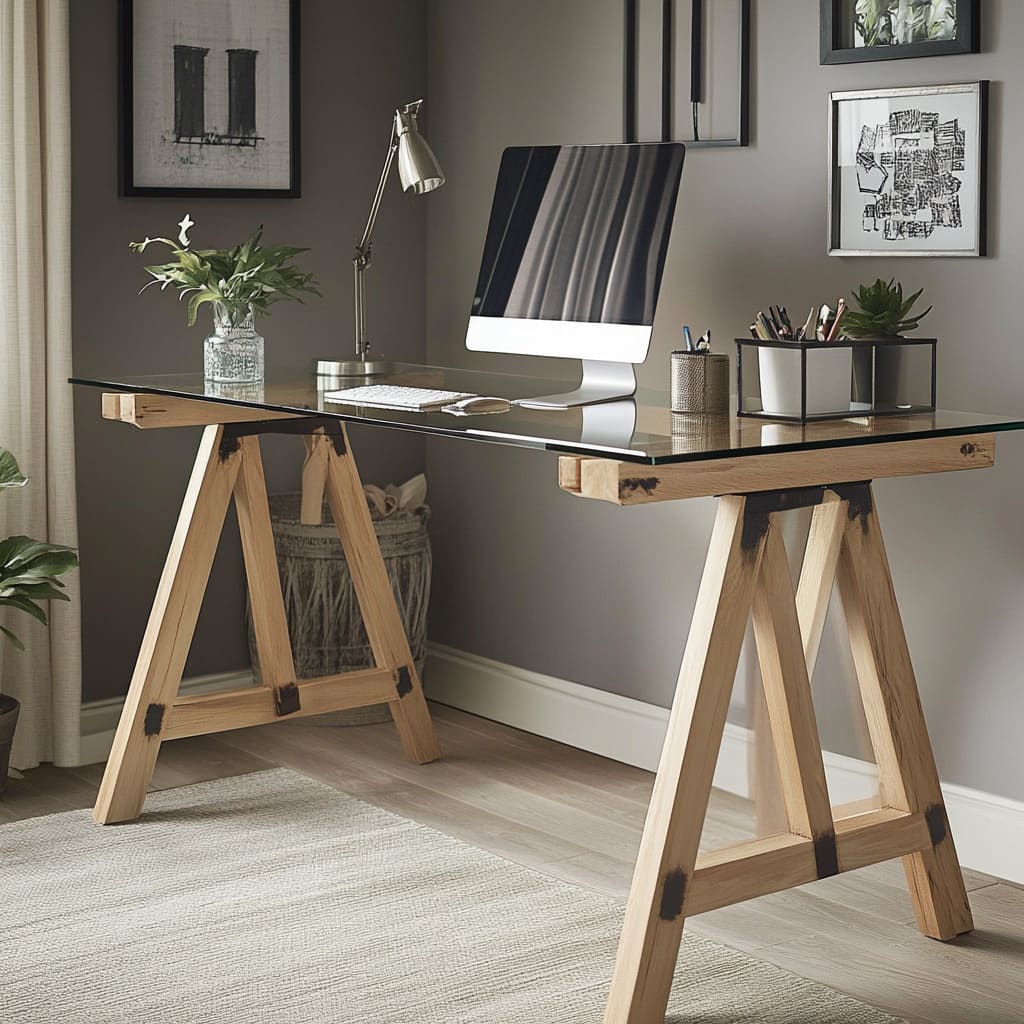
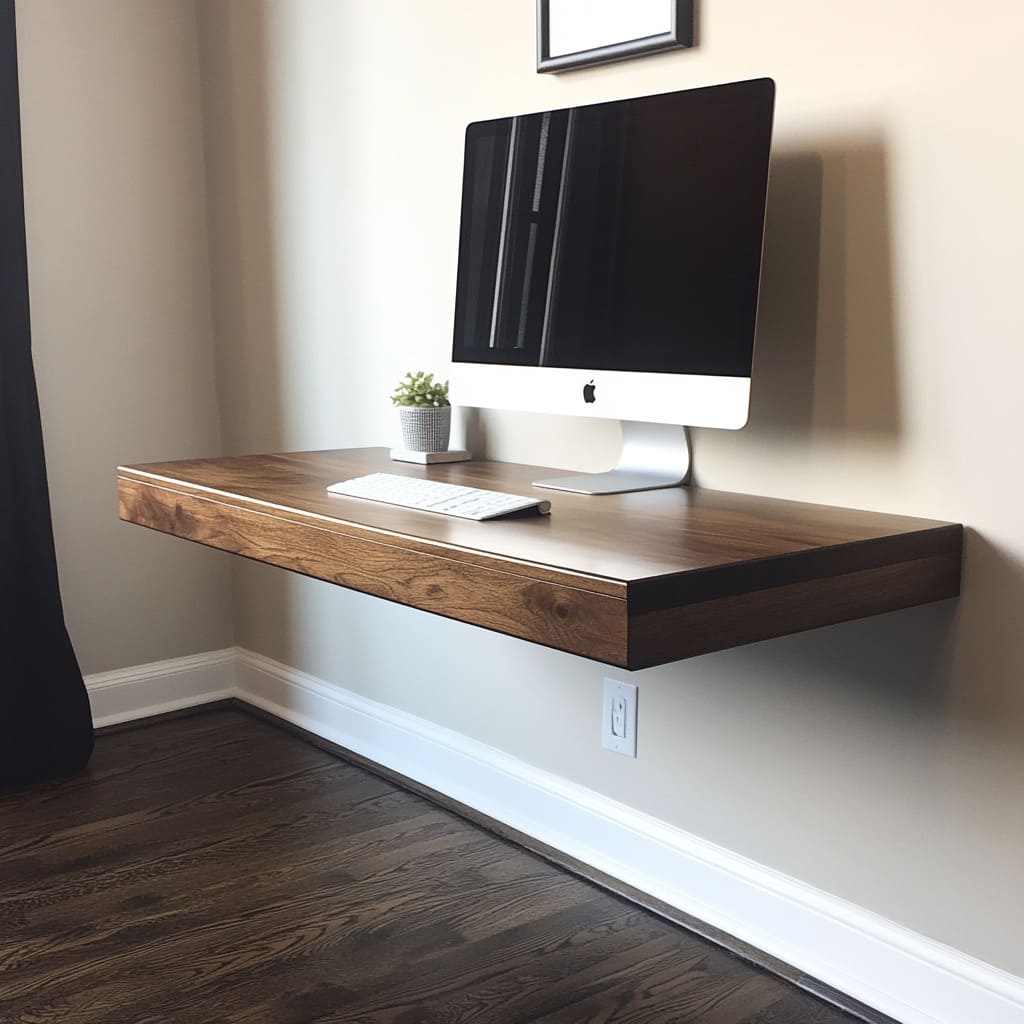
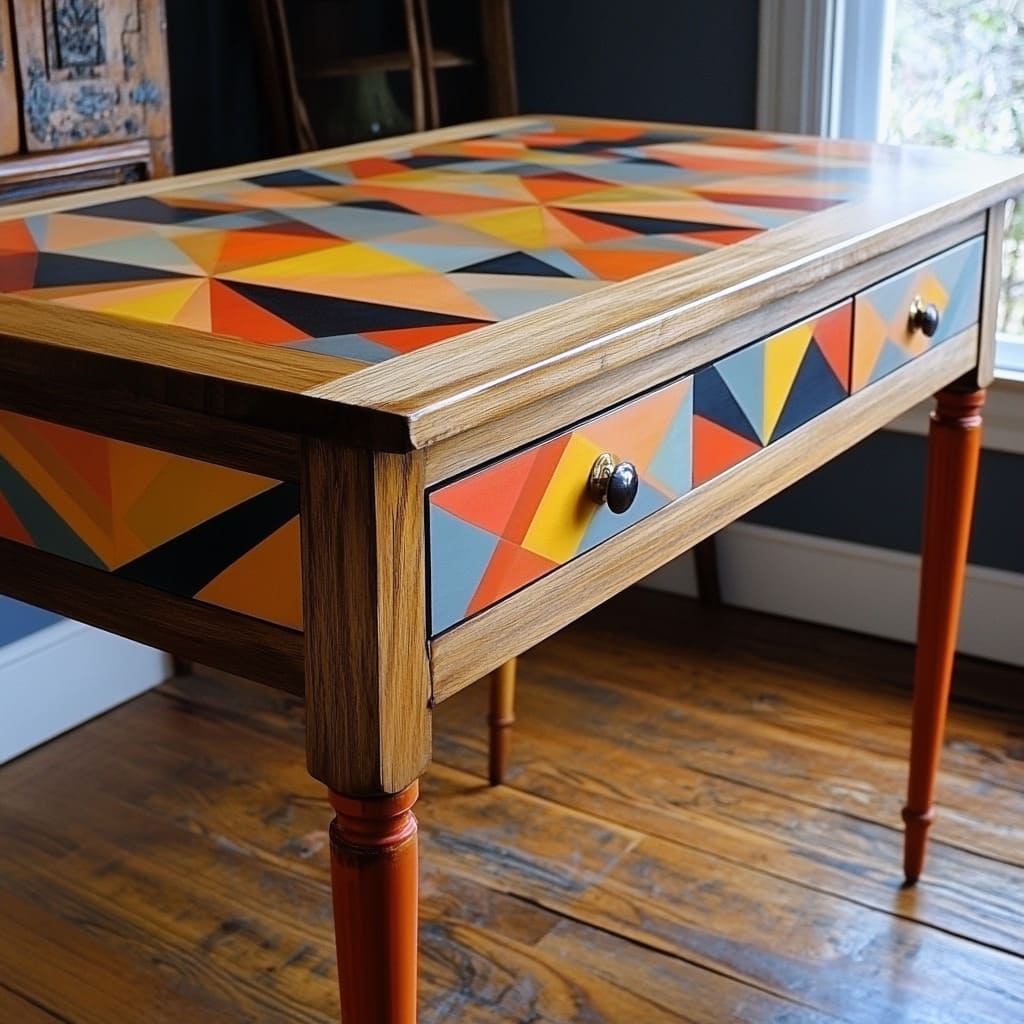
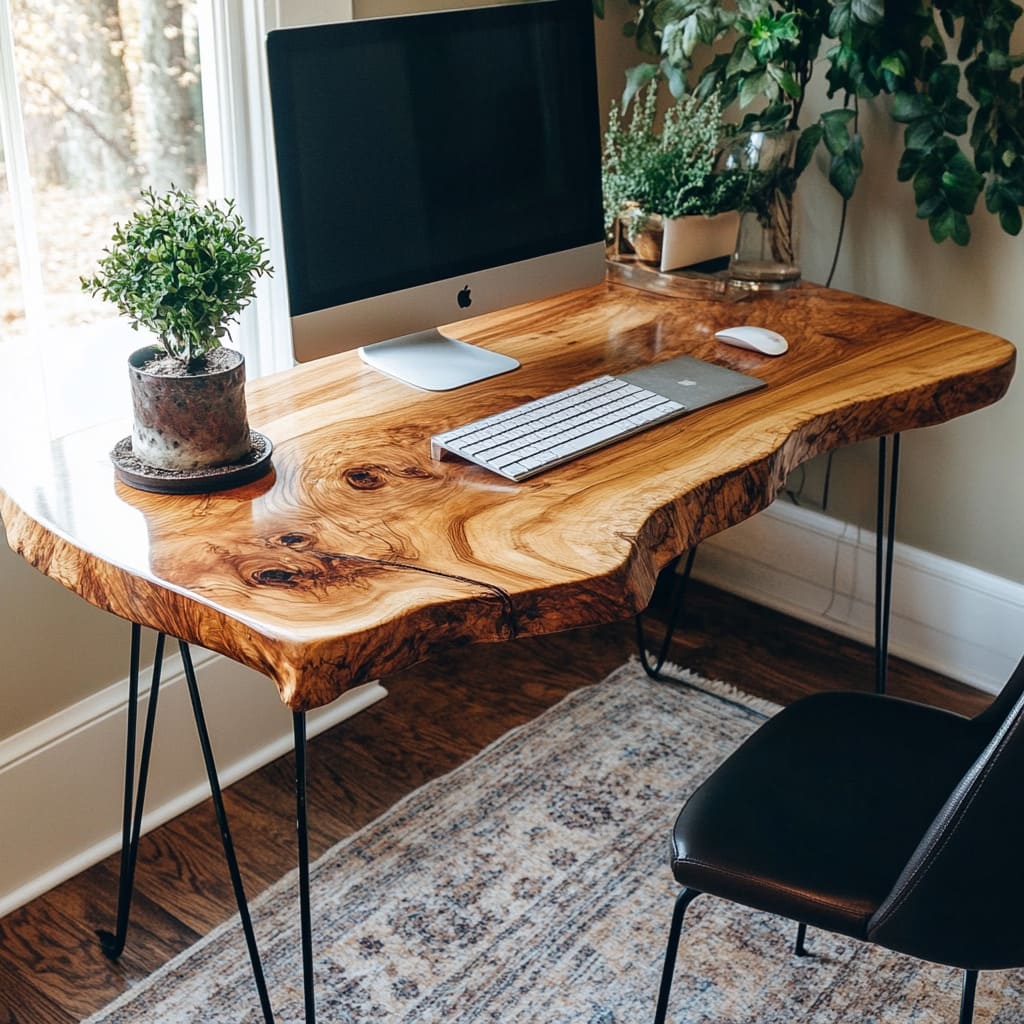
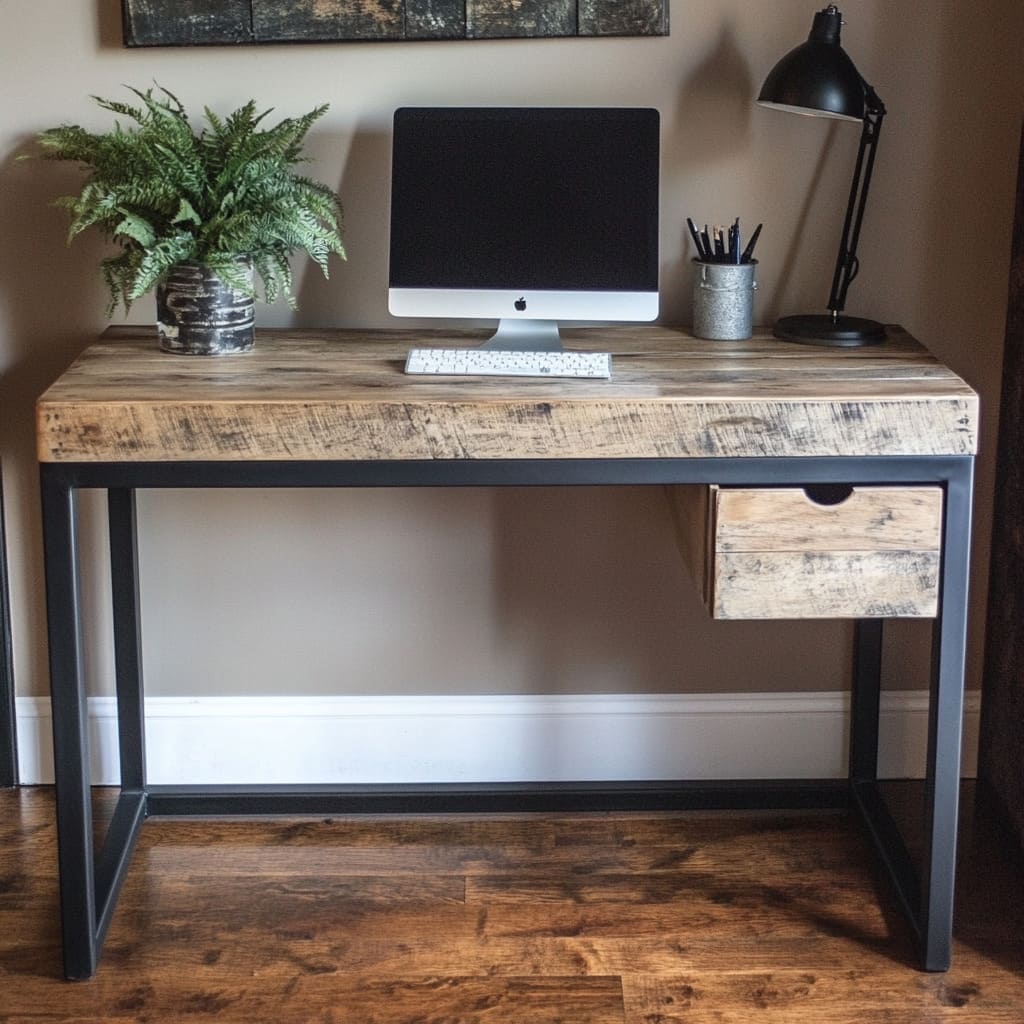
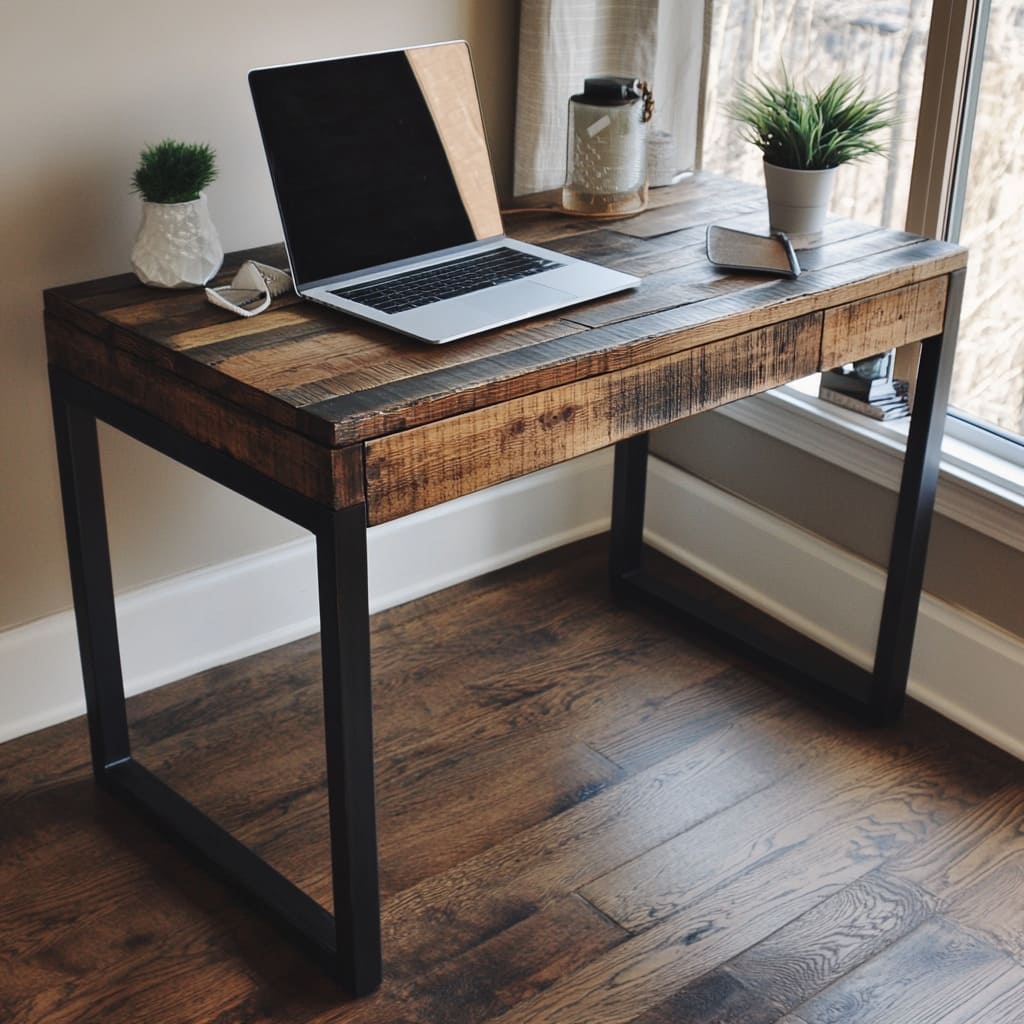
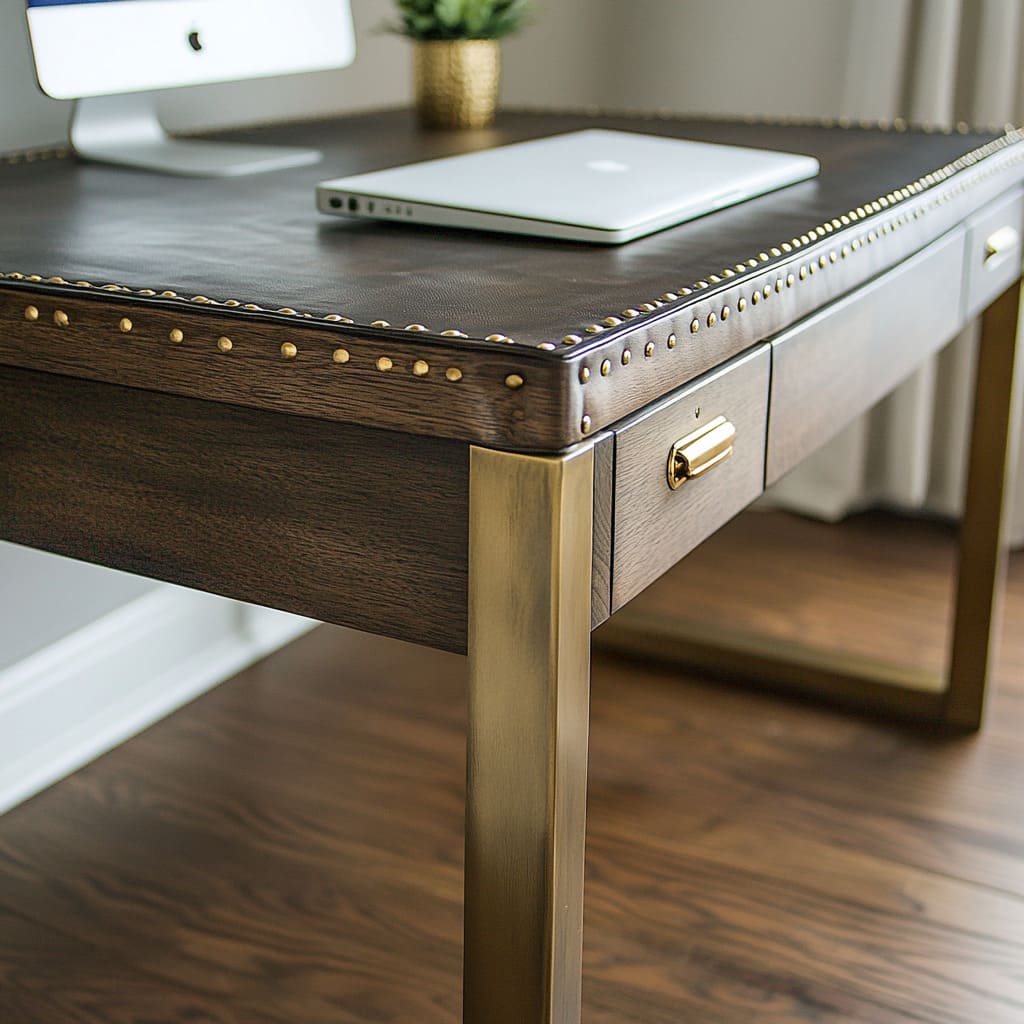
1. Custom Desk
A desk is the centerpiece of any office. Building a custom desk allows you to tailor it to your specific work requirements and space constraints.
Materials Needed:
- Wooden planks or an old door for the tabletop
- Hairpin legs, wooden crates, or filing cabinets for the base
- Screws and brackets
- Sandpaper and wood stain or paint
Steps:
- Prepare the Tabletop: Sand the wooden planks or door to create a smooth surface. Stain or paint the wood to your desired color.
- Attach the Legs/Base: Secure the hairpin legs or wooden crates to the underside of the tabletop using screws and brackets. If using filing cabinets, place the tabletop on top of the cabinets and secure it with brackets if needed.
- Add Finishing Touches: Install any additional features like cable management grommets or a keyboard tray.
2. Ergonomic Footrest
An ergonomic footrest can improve comfort and posture during long work hours.
Creating a DIY footrest is simple and customizable.
Materials Needed:
- A piece of wood or a sturdy box
- Foam padding
- Fabric for covering
- Staple gun
Steps:
- Cut the Wood: Cut the wood or box to the desired size and shape for your footrest.
- Add Padding: Cut the foam padding to fit the top of the wood. Use a spray adhesive to attach the foam to the wood.
- Cover with Fabric: Wrap the fabric around the foam-covered wood and secure it with a staple gun on the underside.
3. Pegboard Organizer
A pegboard organizer helps keep your workspace tidy by providing a place to hang tools, supplies, and decorations.
Materials Needed:
- Pegboard panel
- Wooden frame (optional)
- Paint (optional)
- Pegboard hooks and accessories
Steps:
- Prepare the Pegboard: If desired, paint the pegboard to match your office décor. Allow it to dry completely.
- Build a Frame: For added stability and aesthetics, build a wooden frame around the pegboard. Attach the pegboard to the frame with screws.
- Mount the Pegboard: Secure the pegboard to the wall using screws and wall anchors.
- Customize with Hooks: Arrange the pegboard hooks and accessories to hold office supplies, plants, and decorative items.
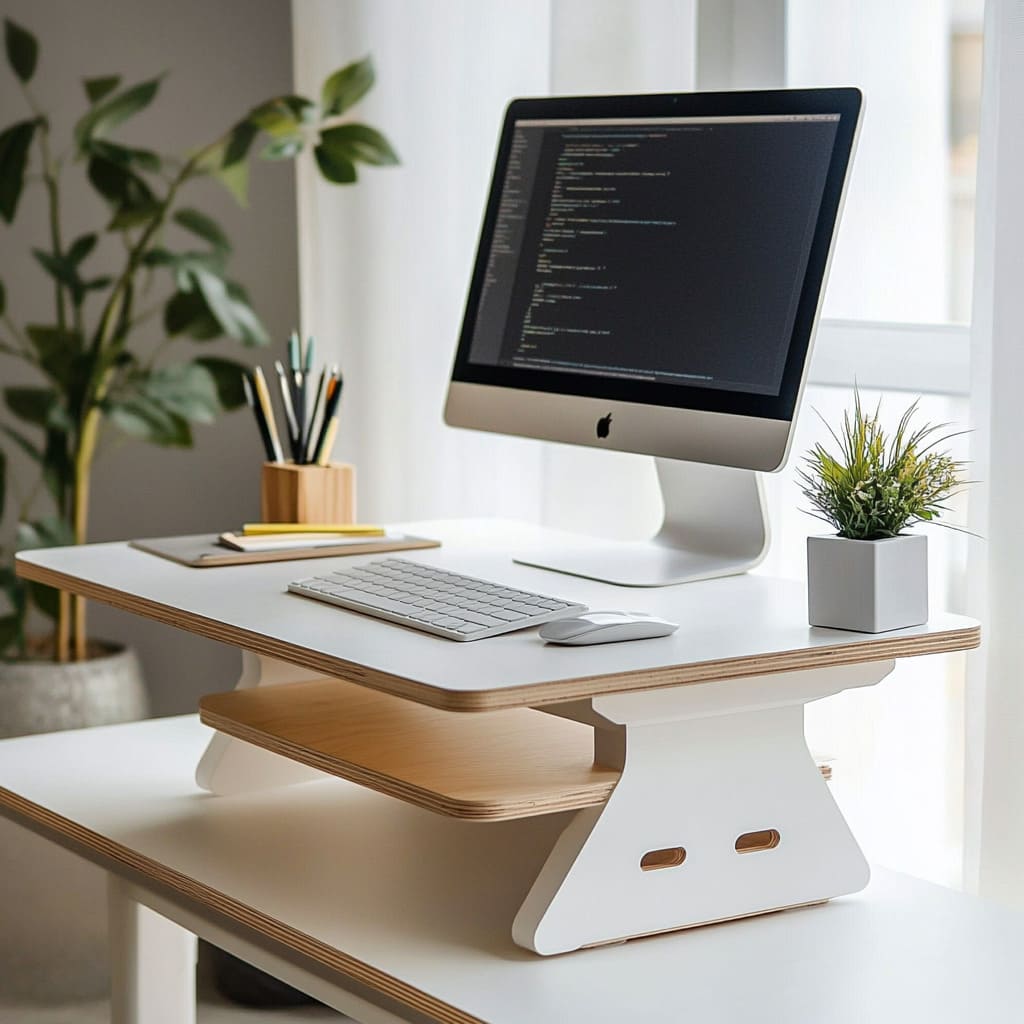
4. Adjustable Monitor Stand
An adjustable monitor stand can help reduce neck strain and improve your ergonomic setup.
Materials Needed:
- Wooden planks
- Screws and brackets
- Adjustable legs or height-adjustable shelf brackets
Steps:
- Cut the Wood: Cut the wooden planks to the size needed for your monitor stand.
- Assemble the Stand: Attach the adjustable legs or height-adjustable brackets to the bottom of the wooden planks.
- Secure the Planks: Use screws and brackets to assemble the monitor stand, ensuring it’s sturdy and level.
5. Rolling Storage Cart
A rolling storage cart provides flexible storage for office supplies and can be easily moved around as needed.
Materials Needed:
- Wooden crates or shelves
- Casters (wheels)
- Screws and brackets
- Paint or stain (optional)
Steps:
- Prepare the Crates/Shelves: Sand and paint or stain the wooden crates or shelves to your desired finish.
- Attach the Casters: Secure the casters to the bottom of the crates or shelves using screws.
- Stack and Secure: Stack the crates or shelves on top of each other and secure them with brackets to create a stable structure.
Tips for Successful DIY Office Furniture Projects
1. Plan Ahead
Before starting your project, sketch out your design and use a list maker for your materials and tools needed.
Planning ahead helps ensure you have everything you need and can avoid unexpected issues.
2. Measure Twice, Cut Once
Accurate measurements are crucial for a successful DIY project. Double-check your measurements before cutting any materials to ensure a precise fit
3. Start Small
If you’re new to DIY projects, start with simpler projects before tackling more complex builds.
Gaining confidence and skills with smaller projects can help ensure success with larger ones.
4. Seek Inspiration
Look for inspiration online through platforms like Pinterest, YouTube, and DIY blogs. Seeing how others have approached similar projects can provide ideas and tips for your own creations.
5. Safety First
Always prioritize safety when working on DIY projects.
Use appropriate safety gear, such as gloves and goggles, and follow safe practices when using tools and equipment
Conclusion
DIY office furniture projects offer a rewarding way to create personalized, functional, and stylish workspaces. By investing time and creativity, you can design furniture that perfectly suits your needs and reflects your unique style. Whether you’re building a custom desk, an ergonomic footrest, or a pegboard organizer, these projects can enhance your workspace and boost your productivity and satisfaction.
Embrace the DIY spirit and transform your office into a space that truly feels like your own

