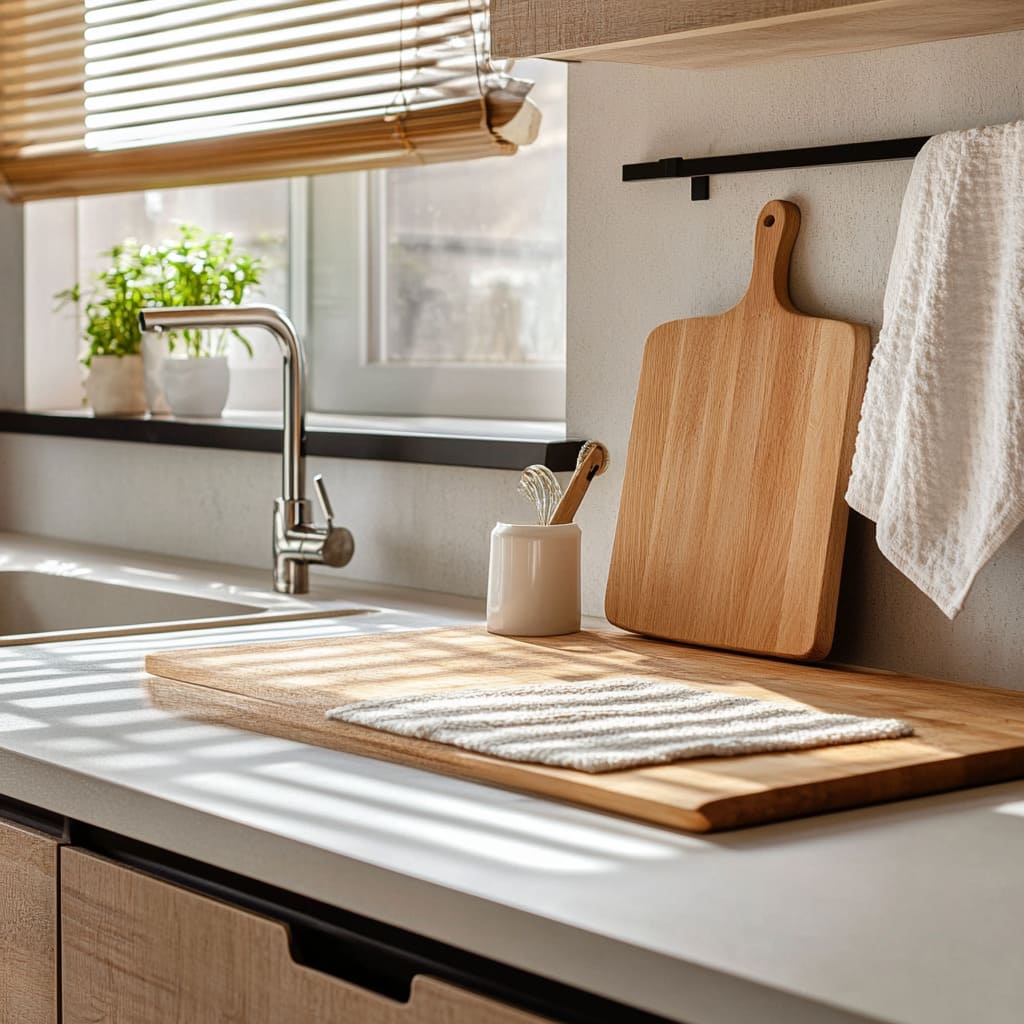
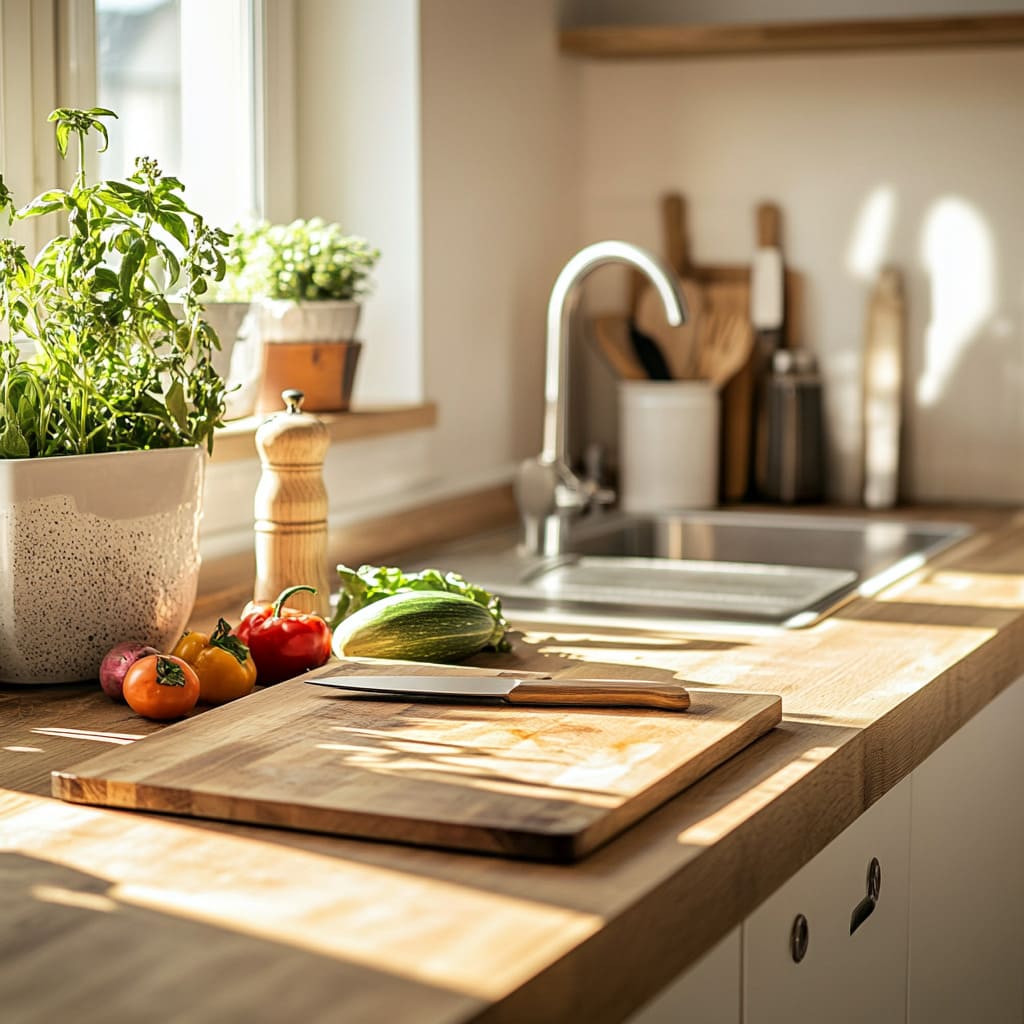
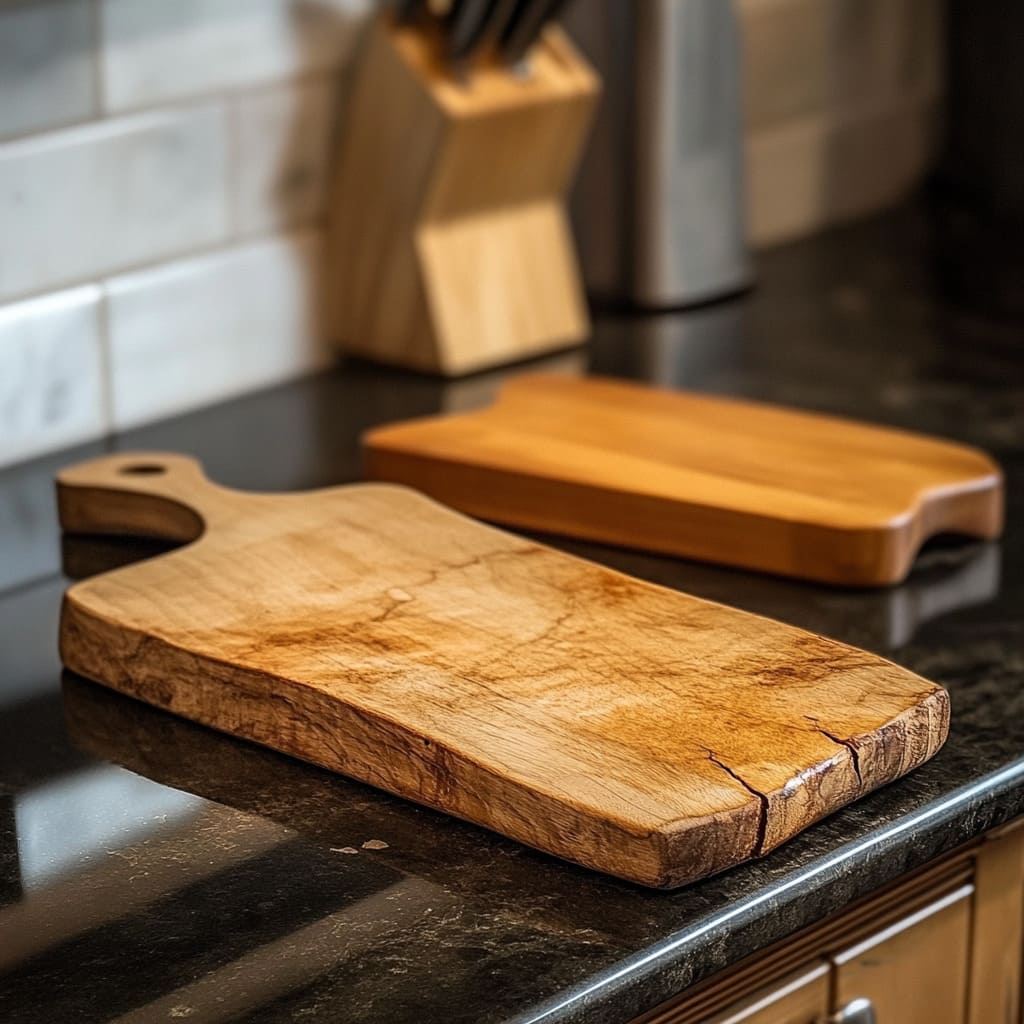
Wooden cutting boards are a favorite in many kitchens — and not without reason. They look great, hold up well with proper care, and are kinder to your knife blades than harder surfaces like glass or stone.
But the natural material that makes them so appealing also makes them a bit more high-maintenance. Wood absorbs moisture and food residue if not cleaned properly.
Over time, that can lead to bacteria, odors, and warping. Luckily, keeping your board clean and safe doesn’t require anything complicated — just a good routine and a few simple habits.
Why Cleaning Wooden Cutting Boards Is Important
Wood has a unique texture that makes it slightly porous, which means it can hold onto liquids and bits of food even after a quick rinse. If that buildup stays put, a few problems can follow:.
- Bacteria growth: Moisture and leftover food provide the perfect setting for bacteria to multiply.
- Lingering smells: Odors from onions, garlic, or meat juices can sink in and hang around.
- Stains: Certain foods — especially those with strong color or acidity — can leave behind marks.
- Damage to the board: Over time, water absorption can cause the wood to swell, warp, or crack.
A cutting board is used almost daily, so it needs regular attention. A few extra seconds of care after each use can save you from having to replace it early or dealing with hygiene concerns.
Daily Cleaning Routine
Taking care of a wooden cutting board doesn’t need to be a long process — but it does need consistency. The key is to clean it right after use, before anything has a chance to settle into the surface.
Here’s how to handle it step-by-step:.
Scrape Off Residue
Start by removing any leftover bits of food. A bench scraper or even the flat side of a knife works well for this.
Getting rid of scraps before rinsing helps prevent them from spreading across the surface.
Rinse with Warm Water
Hold the board under warm running water. Don’t soak it or let it sit in the sink — wood and standing water don’t mix well.
Apply Dish Soap
Use a small amount of mild dish soap and a soft sponge or brush. Scrub gently but thoroughly, covering the entire surface and edges.
Rinse Again
Make sure all soap is rinsed away. Any leftover residue can affect the wood over time and may even alter the taste of foods prepared on the board.
Dry Immediately
Use a clean, dry towel to remove surface moisture. Don’t skip this step — the longer the board stays wet, the more risk there is of warping.
Air Dry Completely
Let the board dry standing up or on a rack so both sides get airflow. Laying it flat can trap moisture underneath, especially if the bottom side doesn’t get proper ventilation.
A quick rinse and dry might seem basic, but doing this every time you use your board goes a long way in keeping it clean and long-lasting.
Disinfecting After Cutting Raw Meat or Fish
Cutting raw meat, poultry, or fish on a wooden board requires an extra step beyond the regular soap-and-water clean. To prevent cross-contamination and keep food prep safe, it’s a good idea to disinfect the surface right after use.
Here’s a reliable method:
- Mix a solution: Combine 1 tablespoon of unscented household bleach with 1 liter of water.
- Apply to the board: Pour or spray the mixture directly onto the surface so it’s fully covered.
- Let it sit: Give it a few minutes to work — around 2 to 3 is usually enough.
- Rinse well: Wash the board under warm water until there’s no scent of bleach left.
- Dry properly: Use a clean towel to remove moisture, then air dry upright or on a rack.
If you prefer alternatives, white vinegar or hydrogen peroxide can be used, but they tend to be less consistent than a bleach solution. Whatever method you choose, make sure the board is completely dry before storing it away.
Deep Cleaning (Weekly or As Needed)
Even with daily cleaning, wooden cutting boards can pick up smells and stains over time. If the surface starts looking dull or you notice lingering odors, it’s time for a more thorough clean.
A quick deep cleaning session helps freshen things up and keeps the board in solid shape.
Try this simple method:
- Sprinkle the surface: Use coarse salt or baking soda to cover the board evenly.
- Use a lemon: Cut a lemon in half and scrub the board with the cut side, squeezing gently as you go to release juice.
- Let it sit: Leave the mixture on the board for 5 to 10 minutes to lift stains and neutralize odors.
- Rinse and dry: Rinse with warm water, dry with a towel, then air dry fully.
Kitchen cleaning tricks combine natural abrasives and acidity to clean without damaging the wood. Plus, it leaves the board smelling fresh without any chemicals.
Conditioning the Wood
Wood, like skin, can dry out over time — especially with frequent washing. To keep it from cracking or feeling rough, the surface needs to be conditioned regularly with the right kind of oil.
Follow these steps:
- Choose the right oil: Stick to food-grade mineral oil or specialty cutting board oil. Avoid cooking oils like olive or vegetable oil, since they can go rancid and leave a sticky residue.
- Apply generously: Pour the oil onto the board and spread it evenly using a soft cloth or paper towel.
- Let it soak: Leave the board to absorb the oil for a few hours — or overnight if it’s particularly dry.
- Wipe off excess: Use a clean cloth to remove any oil that didn’t soak in.
- Repeat monthly: Most boards benefit from oiling about once a month, or whenever the wood looks dry or dull.
This small step makes a noticeable difference in how long your board lasts and how well it performs in daily use.
Proper Storage
How you store your wooden cutting board plays a big role in how well it holds up over time. A board that stays damp or gets buried under heavy items is more likely to warp or develop mold.
Here are a few things to keep in mind:.
- Keep it dry: Always store the board in a spot where moisture won’t collect — avoid placing it flat on countertops where water might pool underneath.
- Don’t stack items on top: Extra weight, especially when the board is still a little damp, can press it out of shape over time. If someone else — like a housemate or a maid — helps out with cleaning or organizing, make sure they know to store it upright or in a dry spot.
- Let air flow: Use a drying rack or store it upright. This allows both sides to breathe, helping to prevent trapped moisture and any unwanted smells.
Good storage isn’t complicated — it’s just a matter of giving the board space and time to fully dry after use.
Mistakes to Avoid
Even well-meaning habits can cause damage if they’re not the right fit for wood. If your cutting board isn’t aging as well as you’d expect, check whether any of these common mistakes are sneaking into your routine:.
- Soaking the board: Leaving it in the sink or letting it soak will cause the wood to expand and possibly crack.
- Using harsh cleaners: Bleach should be diluted, and strong chemicals with heavy fragrances or solvents should be avoided altogether. They can break down the wood fibers and make the board unsafe for food contact.
- Storing while wet: Even if you’re in a hurry, don’t skip the drying step. Trapped moisture encourages mold and can make the board warp.
- Ignoring deep cuts or grooves: Over time, knife marks can get deep enough to trap food particles and bacteria. If your board starts to feel rough or looks worn, sanding it down lightly can help smooth things out and keep it clean.
Being consistent with the right habits will keep your board in better shape and reduce the chance of it becoming a safety issue.
When to Replace a Wooden Cutting Board
No matter how well you maintain it, every cutting board has a lifespan. Some signs are easy to spot, and if you see them, it’s better to replace the board rather than risk using a surface that could be unsafe.
Look out for these issues:.
- Deep cracks or splits: If the surface has opened up and can’t be sanded smooth, bacteria can hide inside and cleaning won’t be fully effective.
- Warping: A board that rocks or doesn’t sit flat on the counter isn’t safe for chopping — it can slip or make knife work unpredictable.
- Persistent odors: If smells linger after thorough cleaning and drying, the board may have absorbed too much over time.
- Permanent stains or dark spots: Some discoloration is cosmetic, but if the board stays stained or looks uneven even after deep cleaning, it’s likely past its prime.
Replacing an old board isn’t wasteful — it’s about keeping your food prep area safe and reliable.
Summary
Taking care of a wooden cutting board doesn’t require much — just regular cleaning, drying, and a little oil now and then. If you stay on top of the basics and avoid the most common mistakes, a quality board can serve you for years without trouble.
Whether you’re prepping vegetables or cutting meat, a clean, well-maintained board is a must-have tool that supports good kitchen hygiene and smoother cooking.

